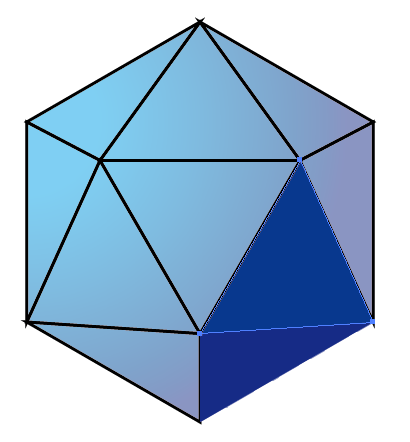
LowPoly風格正二十面體 (Illustrator)
簡單的LowPoly正二十面體繪製。

LowPoly風格正二十面體
01.設定顏色:無、筆畫:3px,使用多邊形工具,建立半徑200px的六邊形,並旋轉30度。


02.使用多邊形工具,在六邊形的中心點,繪製半徑50px的倒正三角形,並點選變形,固定比例,將寬改成200px。


03.點選線段區域工具,增加線段。

04.點選形狀建立程式工具,建立形狀。

05.群組形狀,並拷貝原地貼上,接著隱藏上方拷貝的群組。


06.點選路徑管理員面板,點選聯集,合併形狀。

07.開啟漸層面板,設定漸層色,填入,並點選點選漸層工具調整角度。


08.執行物件/點陣化。


09.開啟隱藏圖層,點選群組進入分離模式。


10.運用選取工具(A)與點滴工具(I),分別將形狀填入顏色。


11.最後加入背景色、繪製陰影,完成影像。
<其他配色>


